Throwing Open the Window on System
Performance: Achieving Proper Speaker Placement
ast year, we started our autumn seminars on the importance of system setup, equipment supports and grounding/cable arrangements by showing just how important it is to get your speakers properly positioned. Playing the system, moving the speakers half an inch and then playing it again served to make that point, as well as demonstrating that unless your speakers are in the correct position you won’t hear the real benefit of any other changes you make. All very good and extremely convincing, but the problem was that, at the end of every seminar, we were besieged by people wanting to know just how do you get your speakers in the right place? So this year, that’s just what we set out to demonstrate.
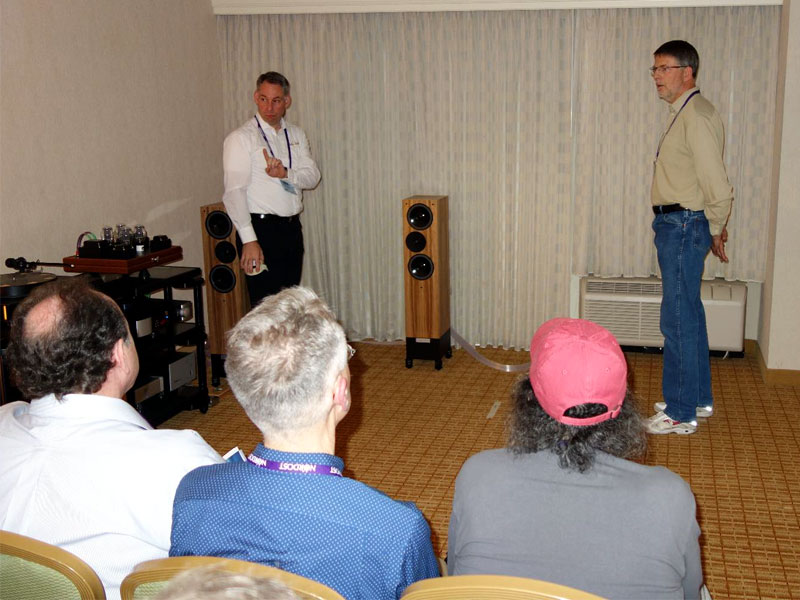
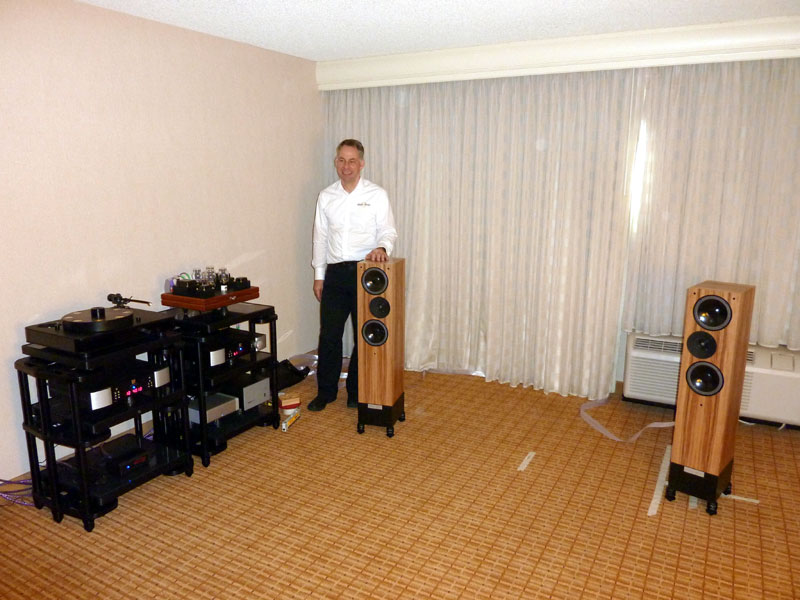
As always, I try to include at least one recently reviewed product at the center of each seminar system. That gives readers an opportunity to calibrate our judgments and gives us a reality check too: There’s nothing quite like praising a product in print and then having to demonstrate its benefits in front of your readers when it comes to keeping yourself honest! This time around, a little forward planning ensured that I was able to use the Living Voice Avatar IBX-RW, a moderately sized floorstanding speaker that not only works in the vast majority of rooms, it is versatile as regards system matching and also remarkably easy to lift and carry -- due to a combination of a rigidly braced but light cabinet and a strategically placed rear-firing port that doubles as a convenient handhold. The plan was to demonstrate a simple and systematic approach to optimizing speaker placement, giving a step-by-step process that should deliver repeatable results. At the same time we wanted to illustrate the crucial role that speaker placement plays in overall system balance and performance -- but more on that later. The other cunning plan involved getting some help with the heavy lifting and all the groveling required -- my knees aren’t what they used to be! With that in mind I adopted the sly strategy of announcing nine places for each seminar but only providing eight seats. The odd one out in this game of audiophile musical chairs didn’t get eliminated -- he just got to be the hired help, actually carrying out the setup procedure itself. The intention was to show just how easy this process is, as long as you follow all the essential steps in a systematic fashion. Anybody can do it. Besides which, the (normally) willing victim got a prize at the end of the seminar, so it wasn’t all bad news.
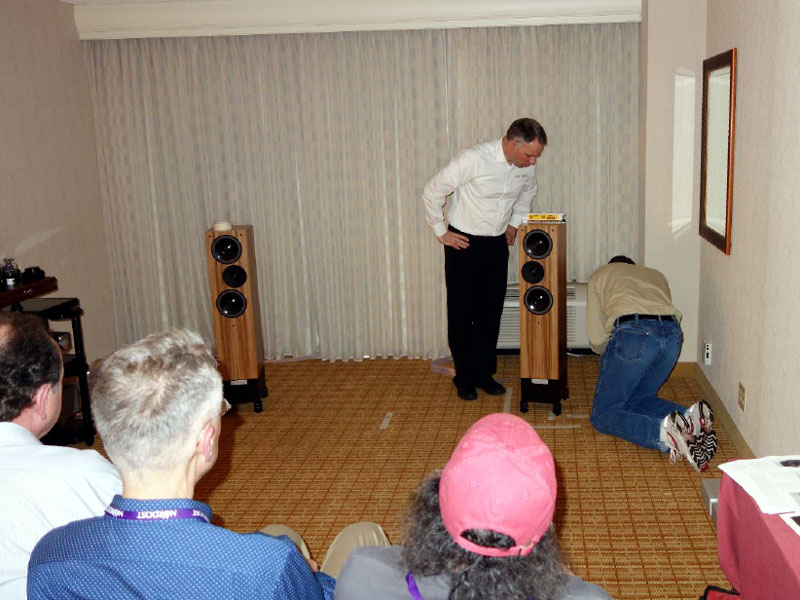
The first step in the procedure was to play the system with the speakers positioned roughly where they looked about right. Once the audience was familiar with the setup and the room, we could go to work, starting with the process that we refer to as "voicing the room." Borrowed and modified from Wilson Audio -- who refer to it as "voweling in" -- this consists of using the sound and balance of your own voice (or another familiar one) to establish an initial point for speaker placement. The actual method is described in detail, along with the other steps in the process, in the accompanying set of instructions. These can be downloaded and referred to at leisure, but essentially, having moved the speakers completely out of the way, our helper was asked to stand with his back to the wall, roughly behind where he’d expect the speaker to stand, and then to edge his way slowly forward, repeating the mantra, "three, four, five" as he went. You can simply speak, but repeating the same phrase, with its range of different vowel sounds, actually makes the process easier and more repeatable. A second "volunteer" sitting in the front row was asked to stop him at the point where his voice sounded best balanced, with the right amount of chestiness and least hollow echo from the room, moving backwards and forwards until the precise spot was identified. Having marked that point with tape, the process was then repeated, moving at right angles across the room, on the line of our first reference. Marking this lateral measure provided a cross of masking tape and an initial point for speaker placement. The speaker was now placed with the center of its baffle level with the center of the cross, pointing straight ahead. If you are doing this on a carpeted floor, make sure that you have removed the speaker spikes. I chose to use the new Nordost Sort Füt (Füts?) -- adjustable feet designed specifically for use under speakers. These have a shallow domed base that allows the speaker to be slid over carpet or hardwood floors (although I’d be careful on soft wooden floors). These allowed us to move the speakers in precise -- but more importantly, repeatable -- increments. But before moving the speaker anywhere, we ran a long strip of tape parallel with its side, marked off in 2cm increments, fore and aft, using the baffle as the zero point. With that in place, we now had a reference for each shift in position -- and the ability to return to the previous placement to check our progress or impressions. Connecting just this speaker to the system, by playing music we could now hear what the effect of each movement was. Choice of music here is crucial as is listening to a single speaker. Options include using the mono switch (if you have one), a mono recording or, if you choose your material carefully, you’ll get away with only connecting one channel. The disc I use is the Duke Ellington/Ray Brown album This One’s For Blanton, a simple recording of piano and double bass. The long runs of deep bass notes are a clear indicator of bass depth, weight, definition and evenness, while the crisp, high piano chords tell their own story. But just as important is the sense of energy in the music, impact from the piano’s hammers, pluck and release from the bass strings, as well as the sense of conversation, the back-and-forth exchange between the two instruments. Together these three elements tell you quickly and clearly about bass timing, balance and musical integration.
With guidance from the cheap seats, our willing helper was soon down on his knees shunting the speaker forward and backward, first by as much as 6cm, but quickly honing in on steps as small as 0.5cm -- or less. Taken across all seven seminars, no group took more than half a dozen steps to get right in the ballpark for optimum balance. What was far more remarkable was that every group’s final position was within ±0.5cm of mean, a level of consistency that I find astonishing. It speaks well of the repeatability of the process and just how easy it is to grasp. In the real world, you’d now execute the same procedure on the other speaker, but in order to save time I simply moved it to the same distance from the rear wall as the set speaker, on a predetermined lateral distance. That works in what was essentially a symmetrical room, but in reality few rooms are that easy and the lateral distance was determined using exactly the same technique anyway, and was quite different to the other speaker’s optimum distance, so don’t be tempted to cut corners with your own setup. With both speakers pointing straight ahead, it was now time to address the question of toe-in. This involved the use of two tools: the "Over LEDR" track from the Nordost Test CD and a laser pointer held against the inner edge of the speaker to provide equal angular offset and repeatable adjustment (employing front-row listeners as "targets"). The LEDR tests are a set of computer-generated pink-noise pulses that move across or around the soundstage in a predictable way. This allows you to hear the result of adjustments with incredible clarity, as well as adding the all-important aspect of repeatable test material. I first came across them on a Stereophile test disc many years ago, and they also featured on the HFN/RR Test Disc III, but since then they’d dropped out of sight. Originally intended to indicate acoustic anomalies in the listening room (a task they still perform) their usefulness in speaker positioning and setup was an unintended benefit, hence their welcome inclusion on the Nordost disc. We started by setting an initial toe-in, broadly equivalent to pointing the speakers at the shoulders of a seated, front-row listener. The LEDR track should allow the pulses of pink noise to move in an even arch, from outside the left speaker, up and over the center and then down outside the right, before pausing and reversing that path. Instead, the sounds clumped low and outside the speaker before rising almost vertically, jumping across the middle of the stage and then falling on the far side. Adding additional toe-in quickly rectified matters, freeing the sound from its muddled start and evening up both the spacing and the arc of movement across the soundstage. But the most impressive thing was just how simple this was to execute -- by pivoting the speakers on their front, inner foot -- and how easy it was to hear the results. Again, under normal circumstances you can spend a lot more time fine-tuning this -- to considerable musical effect -- but in the context of the seminar, it was time to listen again to the first track we’d played ("You Look Good To Me" from Oscar Peterson’s We Get Requests) to see just how far we’d come. And the answer was, quite a way. The band were starting to wake up, the pace and rhythm of the track had locked in and the inner relationship between the musicians, the way their contributions locked together, was starting to become clear. The LEDR tests also indicate whether you have the speakers too close together, necessitating lateral rather than fore-and-aft adjustment, although in this case that was unnecessary. The next step was to level the speakers, using the machinist’s level that also contained the laser. The Sort Füt makes this incredibly easy, perfect level being achieved in under a minute for each speaker -- again perfect in the context of the seminar. By splitting the operation fore and aft and then left and right as two separate considerations it is far easier to achieve a quick, accurate result. Using the spikes supplied with most speakers, this will take rather longer, but the sonic improvements are well worth the trouble. With the speakers level, the soundstage locked in (as expected), but the track also gained significant musical and rhythmic integrity. This was a huge step up in musical engagement -- yet it is remarkable how few listeners take the time and trouble to get their speakers really level -- partly because the supplied hardware makes the job so difficult. Replacing the standard spikes with the Track Audio stainless-steel ones (available in the US from Music Direct) provides a remarkably cost-effective upgrade, partly through the superior shape and material of the spikes themselves, but also because their smooth-running threads and locknuts make precise adjustment so much easier. In the real world the next step would be to adjust the rake angle (forward or rearward tilt) of both speakers, before fine-tuning fore and aft positioning and toe-in, but by now the point had been made: Setting up your speakers has a huge impact on the sound of your system. Just how huge was about to become apparent. Sitting atop the system’s right-hand rack was a BorderPatrol P21 amplifier, an unusual two-chassis, push-pull, 300B-based design available with the option of a variable-level input, making it a single-source integrated amp. After living with the Simaudio solid-state CD player and integrated amp used throughout the demonstration so far, this is exactly the sort of upgrade that might tempt any owner of this system. With a flat 6-ohm load and 94dB efficiency, the Living Voice speakers would present the BorderPatrol amp with no problems, and the combination offers the perfect opportunity to investigate the appeal of tubes. Connecting up the P21 and playing the Oscar Peterson track again, the results were disappointing. Richer and warmer of color, the music had lost its urgency and life, settling back into a lazy and turgid torpor -- almost as if the band were right at the end of an all-nighter. Asking for responses produced a slightly uncomfortable shuffling in the audience -- until I pointed out that it was all right to dislike the results and that I thought the change constituted a downgrade -- in musical if not all sonic regards. Which immediately raised a pertinent question: with the Simaudio Moon 340i Neo amplifier costing $2400, who wanted to shell out another $7500 for the BorderPatrol "upgrade"? Not surprisingly there were no takers, with a few partners looking sideways at their other halves as if to ask, "Is this what you’ve been spending our money on?" But move the speakers forward by 5cm or 2" and suddenly it's all change. The band is back on song, the chemistry is restored along with the urgency and rhythmic integrity. A new, attractive groove has emerged, drawing listeners in, while the soundstage has gained substance, immediacy and dimensionality. The bass is big and bold, the drum propels the track, and Peterson’s mastery of his piano is suddenly obvious. This was the fifth time we’d played the track, but it was the first time it seemed almost rude to cut it short. Let’s not beat around the bush. In terms of musical communication, engagement and simple enjoyment, the P21 didn’t just raise the game, it moved things onto another plane entirely, and that was as a result of an informed guestimate as to just how far to move the speakers. With further adjustment and refinement of position, there was way more to come. Suddenly that $7500 looks transformative, a bargain in terms of the results achieved. Yet how many of us, taking a new amp or any other component, cable or support home to audition (or review) think to adjust the position of the speakers to compensate for changes in the system’s spectral balance or low-frequency damping? The "one in, one out" mantra that seems to govern audio assessment is flawed at the most fundamental level, and if you really want to compare the performance of any two elements in an audio system, then that system must be optimized for each in turn -- and at its most basic, that means shifting the speakers. It also means being consistent, both when setting up a system and when comparing components. We variously demonstrated the impact of either starting the disc with the remote control as opposed to the buttons on the front of the player, or of opening the bathroom door. Both had clearly audible impacts on the sound (and success) of the system. Unless you control these variables, allowing genuinely repeatable comparisons to be conducted -- between one position and another, or one component and another -- you will quickly get lost in a maze of contradictory results. It happened to us when setting the system up and it can happen to you, so take care and have fun. The results will definitely be worth it! The Audio Beat would like to thank all of the companies that provided equipment for the seminar system, the Rocky Mountain Audio Fest for providing the room, and not least all those who took the time to attend the seminars themselves -- especially those "selected" to help with the setup procedure. They didn’t go unrewarded, each receiving a copy of the Nordost Test Disc to encourage them to apply their newly acquired knowledge. The system consisted of: Simaudio Moon 260D Neo CD player The discs used were: Duke Ellington/Ray Brown - This One’s For
Blanton [Analogue Productions CAPJ 015] |