Case Study:

Updating the System Power Supply
and AC Cabling
- Wadia 861SE CD player
- Wadia 170i transport
- Audio Research Reference 110 power amplifier
- Nola Viper Reference loudspeakers
|
What started out as a full-facilities,
multi-source system has been simplified and streamlined, using the Wadia CD player’s
digital switching facility to control sources and level. That has enabled the owner to
dispense with his turntable, phono stage and line stage, allowing the system to be
discretely housed in a concealed cabinet. With the construction of the cabinetry in
process, the owner took the opportunity to reinvest some of the funds released by the sale
of the surplus units in improving the system’s power-supply arrangements. |
| The electronics will be placed
directly on heavy adjustable shelving, allowing plenty of room for ventilation. Previously
the system was hooked up using |
Nordost Valhalla interconnects and Tyr
speaker cables, with the supplied generic power cords plugged directly into a basic
audiophile extension block. |
The electronics are of
excellent quality, living proof that just because you don’t have the latest model,
you don't have to upgrade. Likewise, the matched interconnects and speaker cables
(including the Micro Mono-Filament straps that connect the speakers’ external
crossovers) deliver excellent performance. But shifting the system into a cabinet creates
both opportunities and potential problems.
- Using stock AC power cords significantly undermines system
performance.
- There is no separate clean AC ground for the electronics.
|
- The use of relatively "massive" shelving in
combination with the standard feet fitted to the equipment provides a poor, mechanically
resonant support environment.
- In creating a fixed system installation, it is worth
remembering that you may well want to add additional sources (computer audio or A/V) in
the future.
The challenge is to at least equal but preferably to
better the performance of the system in its conventional, open-rack installation. |
| The move to a
built-in cabinet creates the opportunity to add a dramatically improved AC supply to the
system, as well as dedicated power cords and distribution. The full-height cabinet also
allows positional optimization of the system elements. The nature of the changes make
individual assessment of impact difficult, but some experimentation was carried out to
show benefits. |
 |
Step
1
A dedicated
ring-main with its own dedicated fuse board
and a medical-grade outlet were installed. A 30A ground wire was used to create a clean
earth path to a ground post sunk in the yard, with all cabling concealed behind the
storage installation, which runs the entire length of the lounge area in which the system
is located. The AC outlets are located in the rear of the system space. |
Step
1.1
Shelves were installed in the cabinet as follows: Rather than fixed platforms, the cabinet
walls were fitted with 2" x 2" battens, set back to reduce their visual impact.
The shelves themselves were constructed from 3/4" plywood, with a layer of 1/2"
MDF bonded to the center of the underside, leaving shoulders to rest on the battens. A
hardwood trim on the front edge tidied up the appearance as well as further concealed the
battens. A substantial gap was left at the rear of each shelf to allow easy cable routing
as well as ventilation for the tube amplifier. A total of five shelves were installed. |
Step
1.2
The shelves rested on Tip Toes (taken from the previous system installation) to provide
better structural isolation between the equipment and cabinet. The equipment was then
installed, with the amplifier on the next-to-bottom shelf, the Wadia 171i transport above
it and the CD player above that, bringing its controls to a convenient height for
operation and leaving a spare shelf above it. The original power cords for the CD player
and amplifier were plugged directly into the wall sockets to establish a benchmark of
performance. |
| Sound
quality: At this point, the system sounded quite disappointing. A low-frequency
thickness created a slow, sluggish sound with poor rhythmic drive and momentum, while the
bass had a one-note quality and the midrange was really quite congested and smudged. The
removal of the line stage, along with the dedicated rack, had also removed focus and
transparency as well as timing and dynamic authority. Clearly there was work to be done. |
|
|
Step
2
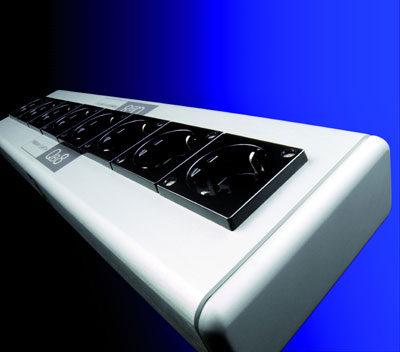
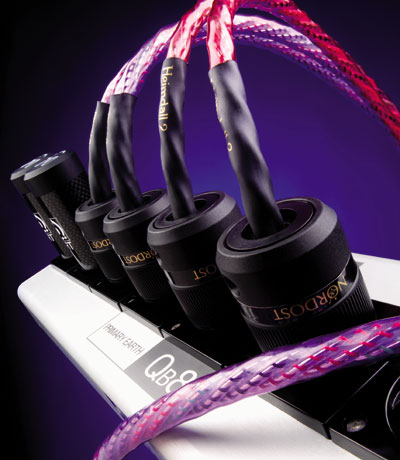
A Quantum QB8 distribution block was
installed in the base of the cabinet, connected to the wall outlet with a Frey 2 power cord. This was placed on the lowest shelf, separate from the electronics,
which were now plugged into it. The 30A ground wire was connected to the ground terminal
on the distribution block.Benefits: An
immediate improvement in the shape, clarity and focus at low frequencies, which translated
directly into greater drive and pace, dynamics and impact in the music. Definition of bass
notes still left a lot to be desired, but musical shape, phrasing and flow were all
significantly improved, with performances starting to fall into place. Connecting or
disconnecting the ground wire produced readily audible improvements in transparency and
tonal color, as well as a drop in the system's noise floor. |
|
Step
2.1
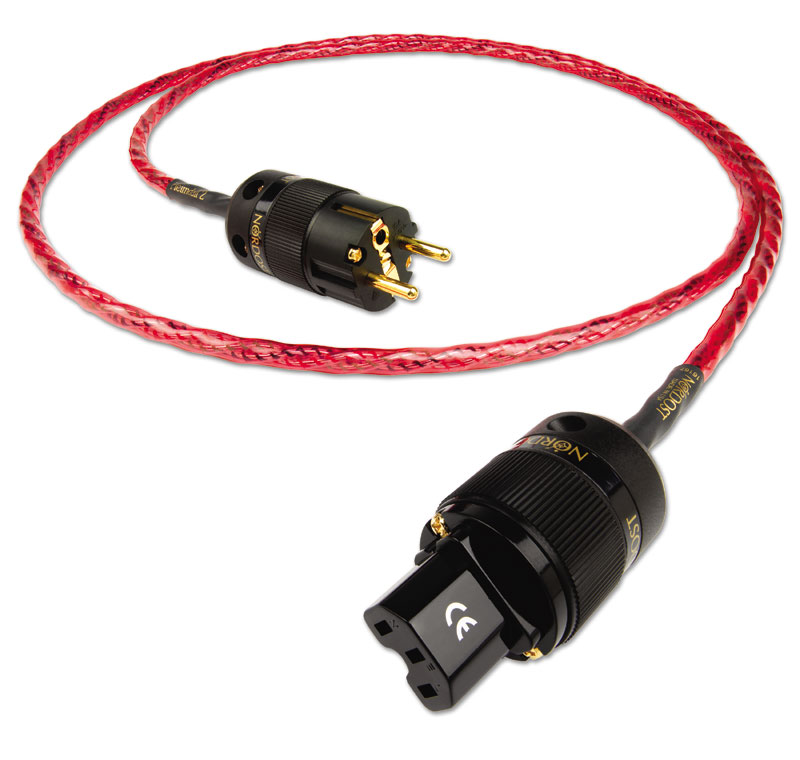
Add Heimdall 2 AC cords between the QB8 and the Wadia 861SE and Audio Research
Reference 110 (as well as a Purple
Flare Figure 8 power cord for the 171i
transport).Benefits: A natural
extension of the improvements delivered by the QB8, the improved power cords added
significant shape, definition and texture to the sound right across the range, adding
presence and purpose to the sense of musical flow established by the distribution block
and grounding. Shifts in musical weight were more dramatic, and bass notes went much
deeper. |
Step
2.2
Move the speakers forward by around an inch, as well as adjust their level and toe-in.Benefits: Integration, timing and rhythmic
integrity improved, and the soundstage became far more coherent and better defined, with
improved depth and a real sense of volume. |
Taking
stock
The system was now working at least as well as it had originally. The improved authority
and dynamics delivered by the distribution block and power cords more than compensated for
the loss of the line stage. But the most noticeable change was a new sense of overall
coherence, a continuity that affected both the shape and sense of the musical performance
and the spatial presentation. However, detail levels were still down and overall clarity
could certainly improve. |
|
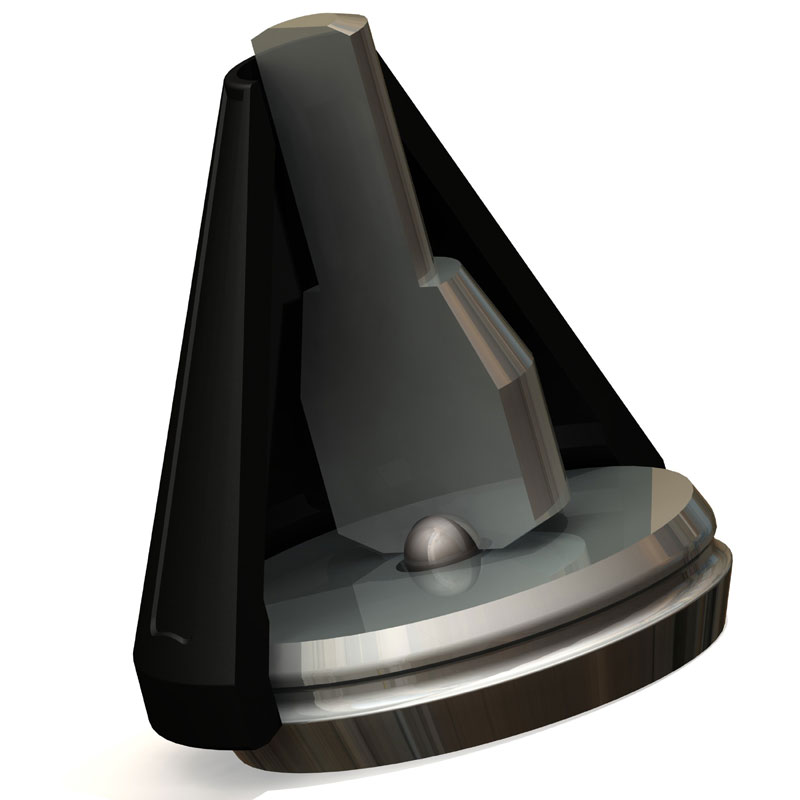
Step
3
Place three AC Sort
Kones beneath the QB8, Wadia 861SE and Audio
Research Reference 110.Benefits:
There was a significant and immediately obvious improvement in the amount of detail, focus
and transparency in the system, although at the expense of some tonal thinning. The music
was quicker and rhythmically tighter, with more clearly defined space between the players.
This was clearly a step in the right direction, but needed further refinement. |

|
Step
3.1
Replace the AC Sort Kones under the QB8 with TC versions.Benefits: This instantly restored substance and
weight to the system but also created a noticeably more natural sense of pace and timing. |
Step
3.2
Given the success of the TC
Sort Kones under the QB8, the obvious next
step was to place them under the electronics too.Benefits:
Further gains in weight, body, color and dynamic range. The whole sound gained
presence and energy, but the positioning of the Kones proved critical. Under the amp, we
settled on one Kone (point up) under the mains transformer with the others under the
output tubes (point down), while under the Wadia CD player the best positions were point
up under the AC input and transport, point down under the DAC board. These variations were
quite noticeable, and a little experimentation brought significant improvements in focus,
dynamic range and clarity. This is to do with coupling the equipment to the lossy
"ground" provided by the constrained-layer shelves, allowing spurious mechanical
energy to escape -- a perfect example of Foundation Theory in practice. |
Step
3.3
We experimented with adding extra Sort Kones beneath the electronics. The Wadia
didn’t seem to benefit, but the addition of two more TC Sort Kones under the
Reference 110, sliding first one and then the second beneath the amp until they grounded
on the chassis, really worked.Benefits: A
significant drop in the noise floor and grain within the soundstage. Instrumental colors
and textures became richer, but the real benefit was in terms of vocals, which became far
more natural and believable. |
Taking
stock
We now had a system that was not only outperforming the original setup in every regard,
but one that possessed sufficient resolution and transparency to really show the benefits
of other upgrades to its infrastructure. |
|
Step
4
Time to add some QRT to the equation, starting with a Quantum Qx4
between the QB8 and the wall outlet. This was connected using another Heimdall 2 power
cord, leaving the Frey 2 between the Qx4 and the QB8.Benefits: The Qx4 reduced the noise floor further, revealing
greater detail and more space within recordings, but the real benefit was in the way it
seemed to deliver a more natural, more believable and more "live" musical
performance. The sound stepped away from the speakers, becoming more immediate and much
more involving. Using the Frey 2 between the wall and the Qx4 might seem to make more
sense, but experimentation showed that we achieved a greater sense of presence and musical
purpose with it feeding the QB8. The Qx4 was placed on the shelf next to the 171i. |
|
Step
4.1
Add a pair of Qv2 Ac
Line Harmonizers to the QB8.Benefits: The Qv2s delivered more color, more
space and another increase in the sense of musical flow, bringing out the tube
characteristics of the Reference 110, making it an even better foil for the digital
precision and detail of the Wadia. |
Step
4.2
Add a Qx2 (and another Heimdall 2 power cord) between the QB8 and the Wadia
861SE.Benefits: This generated
greater clarity, transparency and focus, with much crisper and more precise timing and
placement of notes. The sense of greater musical organization that comes with each extra
element of QRT was obviously apparent, but the Qx2 also seemed to deliver a touch of what
can only be described as extra "sweetness" to the sound, a naturalness to both
colors and dynamics, making the system far more intimate and expressive. The Qx2 was
placed beside the QB8 on the lowest shelf, which made for easier vertical cable dressing. |
Step
4.3
All cables were carefully arranged to keep signal and speaker leads away from the
power cords, and to ensure that none of the cables touched the walls.Benefits: Cable dressing can be heard in further
drops in the noise floor and a crisper, more "planted" feel of rhythmic security
underpinning the music. |
|
Final
results
The system transplant has exceeded all expectations, delivering a significant
step up in musical performance while also being neater and all but invisible. End result:
one happy owner with a very happy wife -- who just wants to know why it couldn’t have
been done years earlier, why she had to put up with all that angle iron in her front room,
why there were always cables everywhere. Every silver lining has its cloud, but this one
dissipated pretty quickly. |
|
| Next
steps? The system is currently working so
well that upgrade-itis has been well and truly banished. But when that time does come, the
obvious path would be as follows:
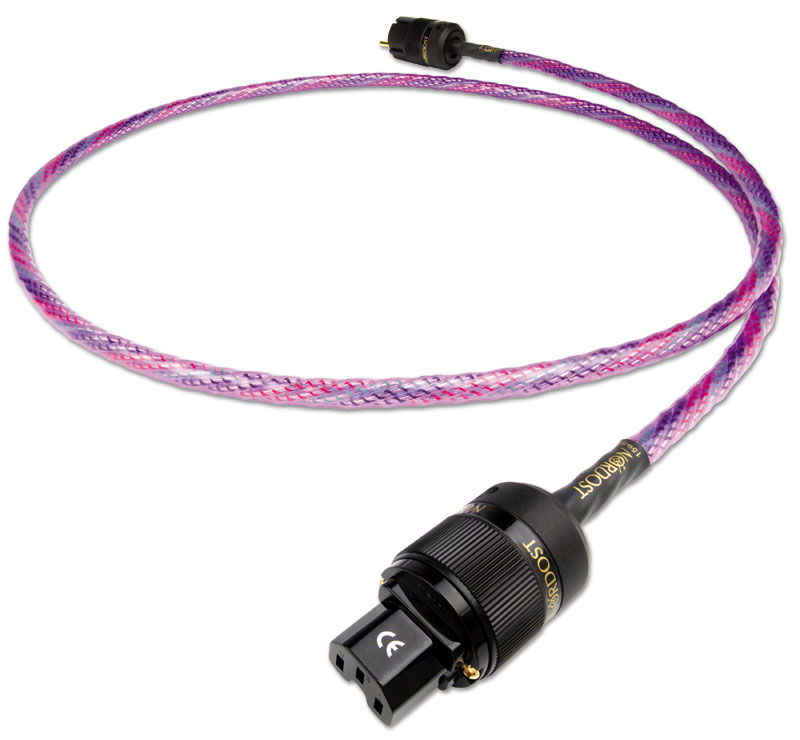
- Upgrade the power cords to Frey 2 throughout.
- Upgrade the interconnects and speaker cables to
second-generation, mechanically tuned versions -- including the digital lead between the
Wadia 171i and the 861SE.
- Add a multi-standard A/V source, so that the main system
can provide sound for the TV.
- Look at even more sophisticated solutions for the shelves
within the cabinet.
These steps might seem a long way off, but they will in
turn deliver even more performance from the high-quality electronics on which the system
is based. |
|